
Match Your Double-Door Flush Bolt Before Ordering a Replacement
Choose a replacement by operation, door preparation, rod length and strikes. Check astragal compatibility and code restrictions before changing hardware.
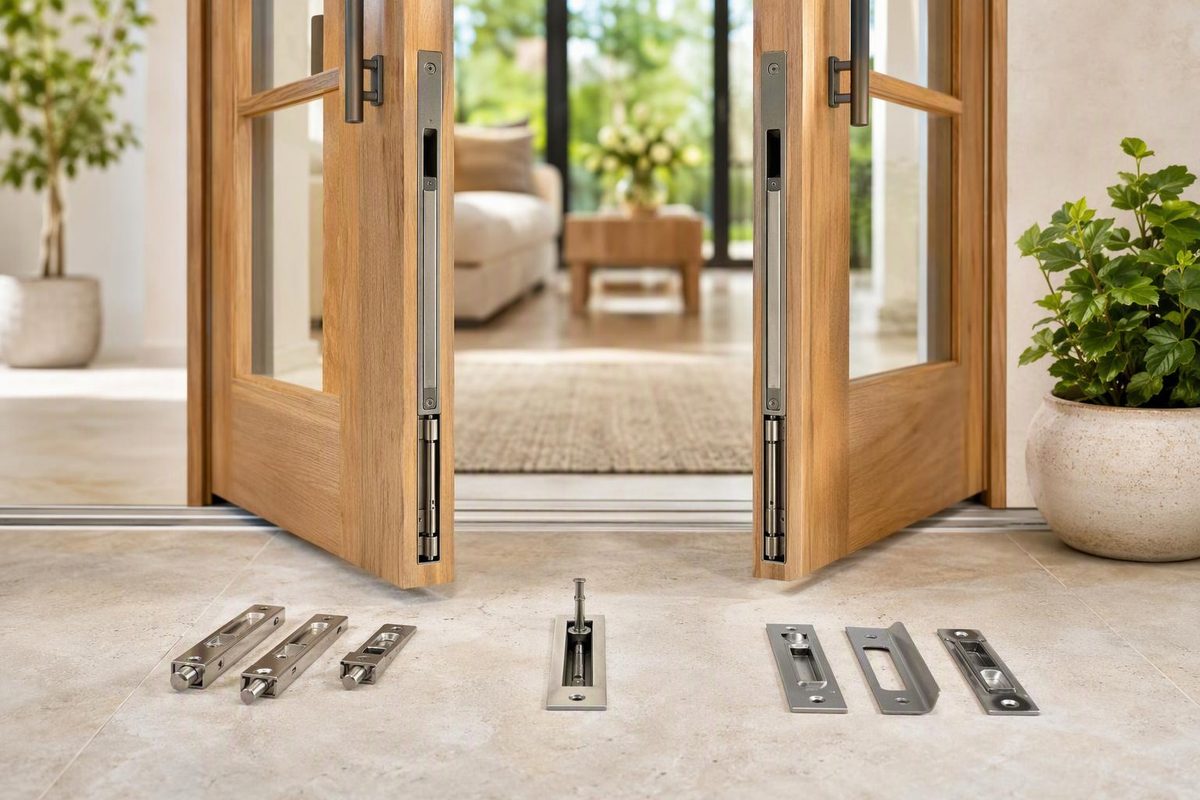
To replace a flush bolt for double doors, match its operating type, door material, mortise dimensions, rod length and strike—not just its finish or visible plate length. If the bolt is built into a French-door astragal, identify that system before shopping for a generic replacement. Fire-rated and required-egress openings also need an assembly and code compatibility check.
Select your assembly, bolt operation and opening type to see the next replacement check.
Replacement Route Finder
Select by observed operation, not an “auto-locking” product name.
Identify the Assembly Before Ordering
Check whether the bolt is a separate mortised body or part of the meeting-edge astragal. Record the manufacturer and model.
Identify the release function before choosing a replacement; manual, automatic and constant-latching functions are not interchangeable.
Confirm fire-rating and required-egress status before changing the bolt type or door preparation. This tool does not establish code approval.
Sources: Ives flush-bolt overview; Endura Ultimate Astragal replacement instructions; Allegion’s explanation of the 2024 IBC update. Model-specific templates govern dimensions.
A flush bolt secures the inactive leaf, the door panel normally kept closed. It is recessed into the door edge and projects into the frame head or a bottom receiver in the floor or threshold. The active leaf—the panel normally opened—can then latch into the secured inactive leaf. Ives explains this arrangement and the operating types.
Identify the Operating Type Before Matching Dimensions
Open the active leaf and observe how the inactive leaf releases. Do not force a stuck lever or bolt.
| Type | Operation | Replacement Priority |
|---|---|---|
| Manual | A person extends and retracts the bolt using a lever or slide. | Match the body, lever, rod and door preparation. |
| Automatic | Closing the active leaf depresses a trigger and extends the bolt; opening that leaf retracts it. | Match the trigger, strikes and closing sequence as well as dimensions. |
| Constant-latching | The top bolt stays latched until the active leaf opens and the top bolt is manually released. In a top-and-bottom arrangement, opening the active leaf releases the bottom bolt automatically. The inactive leaf relatches when closed. | Preserve the specified release function; it is not interchangeable with a fully automatic bolt. |
An automatic system typically also uses a coordinator, which holds the active leaf back until the inactive leaf closes. Allegion’s flush-bolt explanation describes why that sequence matters.
Integrated Astragal Bolts Need System-Specific Parts
An astragal is the meeting-edge assembly between the panels. Its bolt may be a system-specific sliding component rather than a separate mortised body.
For example, Endura’s Ultimate Astragal replacement instructions require removing and supporting the inactive door panel before sliding the bolt out of the astragal and sliding its replacement beneath the strike support. That is a different fitting task from installing a conventional edge-mounted flush bolt.
“Auto-locking” does not necessarily mean “automatic flush bolt.” Endura describes its Ultimate Slide Bolt Astragal as having an auto-locking bolt, but the user still slides it up or down to engage and retract it. Match the actual operation, not the wording alone. Endura’s product specification documents that operation.
Measure the Body, Rod and Receivers Separately
Photograph the complete door pair, the inactive edge, both receivers and any manufacturer markings. Record measurements in inches or millimeters consistently, labeling top and bottom separately.
| Check | What to Record |
|---|---|
| Door and system | Material, thickness, manufacturer, model and any fire-rating label; separate bolt or integrated astragal. |
| Visible plate | Length × width × thickness, corner shape and screw-hole center-to-center spacing. |
| Mortise and body | Recess length × width × depth, plus space available behind the plate. |
| Rod length | Use the reference points in the replacement’s drawing; do not substitute plate length or overall loose-part length. |
| Bolt tip and travel | Tip diameter or shape, retracted position and extended projection. Throw is the distance the bolt travels. |
| Bolt centerline/backset | Locate the centerline using the manufacturer’s drawing and its stated reference surface. |
| Guides and receivers | Guide dimensions, strike plate dimensions, receiver opening, depth and centerline position. |
| Orientation and contents | Top or bottom application, any handing requirement, and whether the package contains one bolt or a complete set. |
These dimensions are not interchangeable. Ives lists the FB31 automatic metal-door bolt with a 12-inch standard rod length measured from the body center to the bolt tip, a 3/4-inch throw, and 7/8-inch vertical adjustment. Those are three different measurements—not three descriptions of the same size. Ives architectural hardware catalog
Compare your measurements with the exact model’s installation template. Floor clearance can also determine fit: the Ives FB358 wood-door template requires at least 1/4 inch (6 mm) of undercut and bases bottom-bolt adjustment on minimum finished-floor clearance. That is a model-specific requirement, not a universal flush-bolt setting.
Check Receiver Alignment Before Replacing the Bolt
A bolt that binds against its receiver may not have a failed mechanism. Check it in this order:
- Inspect the receivers. Remove loose debris from the bottom socket and look for damage or displaced strike plates.
- Observe operation with the inactive leaf open. For a manual bolt, check whether it moves freely without contacting a receiver. For an automatic bolt, follow its instructions; an open door alone may not actuate it.
- Compare open and closed operation. A manual bolt that moves freely when open but binds when closed points toward receiver alignment or door position rather than proving the mechanism has failed.
- Check door position. Look for uneven gaps, loose hinge fixings or a panel that must be lifted or pushed unusually hard to engage the bolts.
Do not enlarge a receiver hole as the first remedy. Establish whether the door, guide or strike has moved, then follow the assembly’s adjustment instructions. After work, check full retraction, free door swing and positive engagement at every fitted bolt.
Fire-Rated and Required-Egress Openings Need Approval Checks
A dimensionally matching bolt is not necessarily an acceptable replacement on a fire-rated or required-egress opening. Allegion’s explanation of the 2024 IBC update, linked above, distinguishes manual, automatic and constant-latching bolts according to occupancy, fire rating and whether the inactive leaf is needed for egress capacity. That discussion does not establish which rules your jurisdiction has adopted.
Where U.S. ADA requirements apply to a manually operated door pair, at least one active leaf must meet the specified clear-width and maneuvering-clearance requirements; door hardware requirements also address operating height and usability. Do not assume opening both leaves makes an otherwise unsuitable manual-door arrangement accessible. U.S. Access Board, §§404.2.2–404.2.7
For these openings, verify the complete assembly’s approved hardware, manufacturer instructions and locally adopted rules before changing the bolt type, removing a bottom bolt or cutting new preparation.