
Replacing a Garage-Door Remote? Identify the Receiver First
Match a garage-door remote by opener model, learn-button details and radio system—not by appearance or frequency alone.
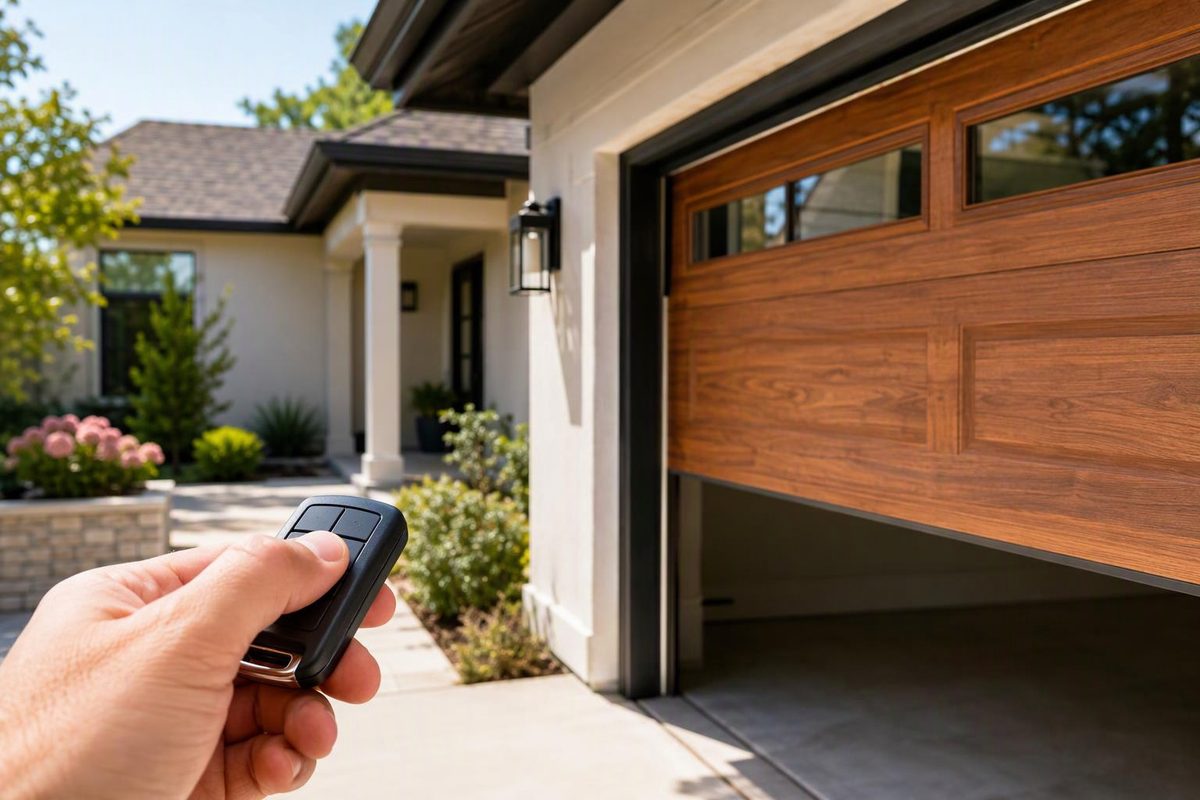
For a garage door, match a replacement keyless entry remote to the opener or separate radio receiver, not to the door. Before ordering, record the manufacturer, exact model number, learn-button details and radio system.
The wording can be confusing: sellers may use “keyless entry” for a wireless exterior keypad as well as a handheld remote. Vehicle key fobs are a separate product category. This guide covers handheld garage-door remotes.
Record these identifiers
A learn button may be visible under the opener’s light cover. Do not remove an operator or receiver enclosure unless its manual tells you to; disconnect power first if the instructions require access inside an enclosure.
| Check | Where to look | Why it matters |
|---|---|---|
| Opener or receiver brand | Housing label or manual | A matching logo alone does not establish compatibility |
| Exact model number | Opener head or separate receiver | Compatibility charts may be organized by model or product family |
| Learn-button color and label | Opener head, often near the antenna | It can identify the radio generation within some brands |
| Frequency and radio system | Existing remote, receiver label, manual or chart | The replacement must support the receiver’s protocol, not just its nominal frequency |
| DIP switches | Older remote or receiver, if the manual permits access | Some fixed-code systems use a matching switch pattern instead of enrollment with a learn button |
| Required button count | Count the openers or compatible accessories to control | One remote button is generally assigned to each device |
| Existing remote model | Back label or battery compartment | Useful for finding a replacement or documented successor |
LiftMaster, for example, tells owners to locate the opener’s LEARN button and then consult its compatibility chart. For the openers covered by that guide, the button is under the light cover on the antenna side. The chart distinguishes yellow, purple, green and orange/red buttons and assigns compatible remotes accordingly (LiftMaster replacement guide). That color system is a LiftMaster-family identifier, not a universal code across manufacturers.
“Universal” does not mean every opener
Read the proposed remote’s complete compatibility list before buying. A current universal remote may support several frequencies and protocols while excluding particular opener models or generations.
Chamberlain describes its CHU62 as compatible with most garage-door opener brands made after 1993 with safety sensors—not every opener. Its specifications separately name supported systems, frequencies and learn-button colors, including Security+, Genie IntelliCode and Linear Mega-Code variants (Chamberlain CHU62 specifications).
The practical rule: require the remote manufacturer’s current chart or manual to name your opener model, radio system or another specified identifier. Similar case shape, button count or frequency alone is not proof of compatibility.
If your opener uses a separate external receiver, match the remote to that receiver. The opener head’s built-in radio may not be the system currently controlling the door.
Program only after confirming compatibility
Use the instructions for the exact remote and opener. Learn-button systems usually require placing the receiver in enrollment mode and pressing the selected remote button, but timing and button sequences vary. DIP-switch systems use a different procedure.
Test safely:
- Keep people, pets, vehicles and objects clear of the door.
- Operate it only while the entire opening is in view.
- Confirm that each programmed button controls only the intended opener.
- Perform the opener manufacturer’s specified safety-reversal and entrapment-protection tests. A working remote does not establish that the operator is safe or correctly adjusted.
If a remote was lost or retained by a former occupant, follow the opener or receiver manual’s procedure for erasing stored transmitters, then enroll only the remotes and keypads that should retain access. Adding a replacement should not be assumed to disable the missing remote.
If the remote will not pair
Recheck the compatibility chart before repeatedly trying the programming sequence. Then verify the battery type and orientation, confirm that the opener has power, and make sure you are pressing the receiver’s learn control rather than a nearby force or travel adjustment.
When labels are difficult to read, photograph the opener, any separate receiver, the existing remote and the learn-button area. Those identifiers are more useful than shopping by the remote’s appearance.