
Match a Door Jamb Strike Plate by Function and Dimensions
Identify a door jamb strike plate, measure its screw spacing, opening and lip, and check alignment before choosing a replacement.
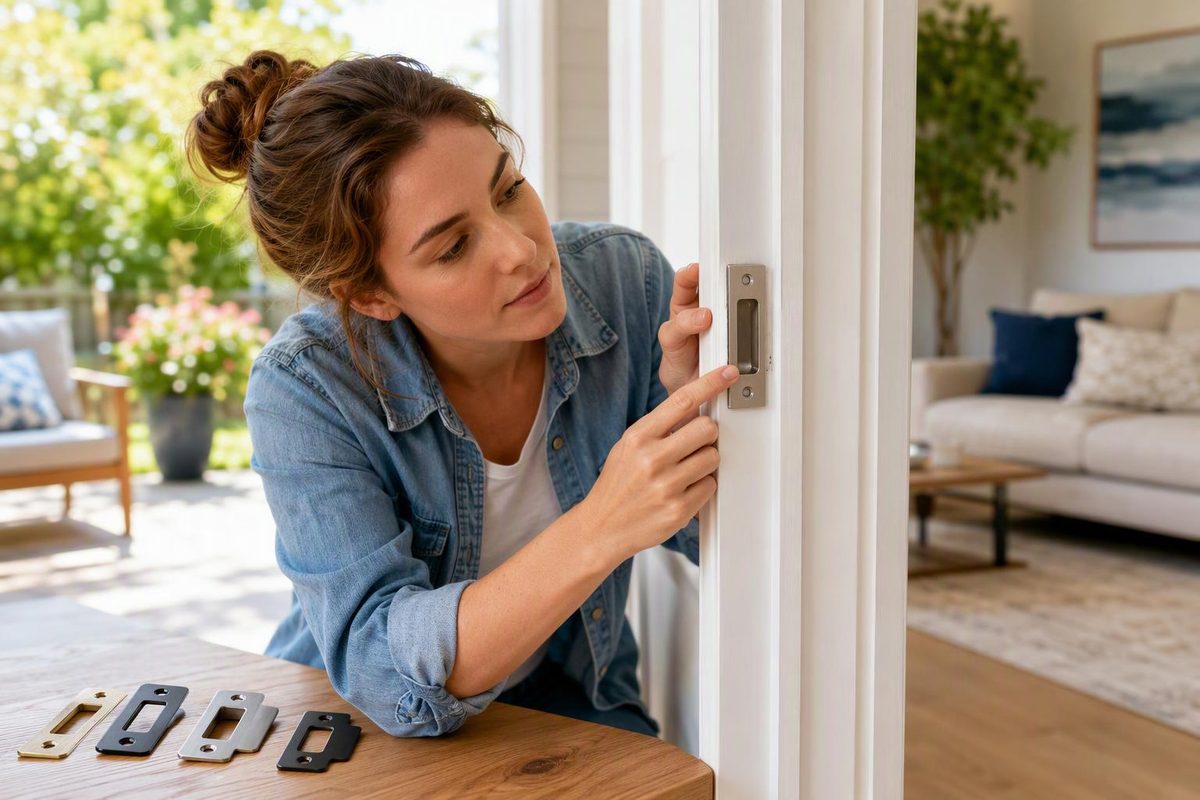
To replace a door jamb strike plate, match the lock function, plate dimensions, screw-hole spacing, bolt opening and lip length—not just the finish. If the door has stopped latching, check its alignment before buying a different plate.
The strike plate is the metal fitting on the frame that receives the latch or deadbolt. It protects the jamb and helps secure the opening. The similar-looking plate on the edge of the door is the latch or bolt faceplate, not the strike. Schlage’s hardware glossary distinguishes these parts.
Identify the lock and bolt type
With the door open, operate the hardware and note which bolt meets the plate:
- Spring latch: Retracts when you turn the knob or lever. Match the strike’s opening and lip shape and length, including clearance past the frame trim.
- Deadbolt: Extends when you turn the key or thumbturn. Match the deadbolt’s specified strike and the receiving pocket behind it.
If you have a mortise lock, identify its model and function before selecting a strike; do not choose by the plate outline alone. See mortise lock identification if the lock body sits in a rectangular pocket in the door edge.
Record the manufacturer and model where available. Also photograph the installed plate, the door edge and the plate’s reverse after removal. Check whether the specified replacement is handed or reversible.
Measure the plate and the frame preparation
Remove the existing strike only when you can leave the opening safely unsecured. Keep any box, reinforcement plate and fasteners behind it together.
Record measurements in inches or millimetres, using the same units as the replacement drawing.
| Check | What to record |
|---|---|
| Plate outline | Height and width of the flat mounting portion; note any projecting lip separately |
| Screw pattern | Centre-to-centre spacing, number of holes and their positions |
| Corners | Square or rounded; measure the corner radius if rounded |
| Thickness | Plate thickness and depth of the recess, or mortise, in the jamb |
| Bolt opening | Height, width and position relative to the screws and plate edges |
| Lip | Length to its outer edge, using the manufacturer’s stated reference point |
| Receiving pocket | Clear depth behind the plate, including any strike box |
| Mounting | Wood or metal frame, screw type and condition of the fixing points |
A matching height and width do not establish a drop-in fit. For example, Allegion lists Schlage 10-001 and 10-013 T-strikes with the same nominal 1-1/8 × 2-3/4-inch size, but different thicknesses: 0.064 inch and 0.080 inch respectively. Both also come in different lip lengths. Allegion’s comparison shows why thickness and lip belong on the measurement sheet.
Be especially careful with listings labelled “width.” Don-Jo’s 9125 extended-lip strike lists a 2-1/2-inch width measured from the centre of the screw hole to the end of the lip, not across the entire plate. Use the manufacturer’s measurement definition rather than assuming every supplier measures alike.
If the latch scrapes decorative casing before reaching the strike, an extended lip may be appropriate. Select it to clear the trim while preserving correct engagement—not as a substitute for correcting a sagging door. Beacon’s lip-length guidance explains how door thickness, frame inset and trim projection affect that clearance.
Check alignment before moving or replacing it
First operate the latch or deadbolt with the door open. If it binds then, investigate the lock mechanism or installation. If it works freely open but catches when closed, inspect the strike, receiving pocket and door alignment. The deadbolt troubleshooting guide separates those checks.
Look for loose hinges and uneven gaps around the door. If lifting the handle lets the latch engage, investigate door sag and hinge fixing before cutting the jamb.
To locate contact, apply a small amount of chalk to the latch, close the door gently and inspect the transfer mark on the strike. Schlage recommends this method and notes that loose hinges, warping or expansion can cause rubbing. Its alignment advice supports diagnosing the cause before repositioning the plate.
For an ordinary, non-rated wood jamb, dry-fit the matched replacement before making changes. Follow the lock’s template for the recess, pilot holes and pocket depth; Schlage’s F-Series instructions specify a flush-fitting strike. Do not enlarge the opening indiscriminately: on a deadlatching entrance latch, the small auxiliary plunger must contact the solid strike rather than enter the pocket. Schlage’s installation instructions explicitly require plunger contact for the F51 entrance function.
Cracked jambs, stripped fixing points or reinforcement upgrades need more than a cosmetic plate swap. Use repair hardware and fasteners specified for the frame and lock. For fire-rated, egress, accessible or electrified openings, verify the complete assembly’s instructions and applicable local requirements before altering the preparation; a matching dimension alone is insufficient. For example, Allegion states that its 10-064 strike’s fire certification applies as part of a complete lock, not as a separately listed strike. See the manufacturer’s qualification.
After fitting, test from the interior with a way to reopen the door. The latch should engage without lifting or slamming the door, and the deadbolt should reach its full specified extension without forcing the key or thumbturn.