
How to Fix a Sagging Door
Diagnose a sagging door, tighten hinges, repair stripped wood screw holes, and decide when longer screws, shims or replacement hinges are appropriate.
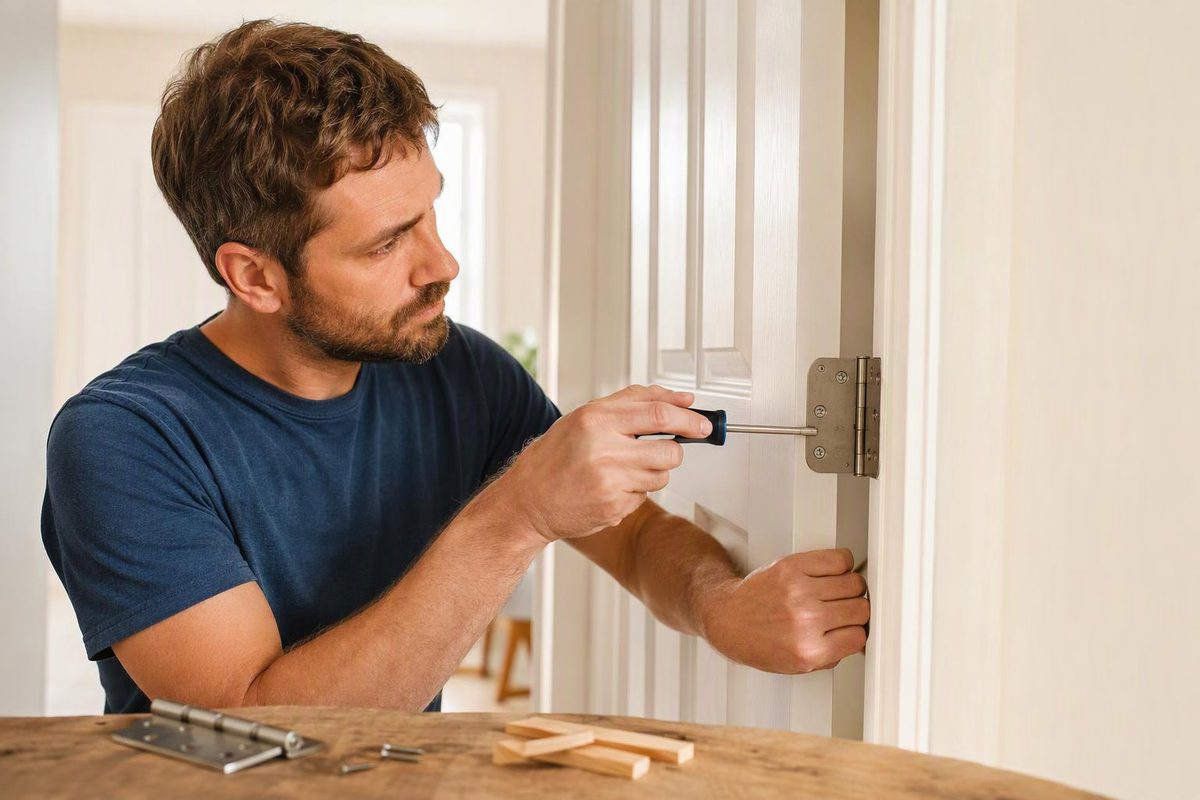
Start with the hinges, not the planer or strike plate. On a basic hinged door, first tighten the hinge screws in both the door and frame. If a screw spins without tightening, repair its fixing before adjusting the door’s position. Planing a rubbing edge is a last resort, not the first repair. Family Handyman’s repair guide follows this sequence.
The steps below suit ordinary residential doors with butt hinges. Pivot doors, concealed adjustable hinges and spring-loaded hinges need their own instructions. For a fire-rated opening, use the complete assembly’s manufacturer guidance and applicable local requirements; the Steel Door Institute specifies that modifications to labeled fire doors and frames must comply with NFPA 80.
1. Confirm where the door has moved
Close the door slowly without forcing it. Record the gap between the door slab and frame—the reveal—at the top, middle and bottom of each side. Note where it rubs and where the latch meets the strike.
| What you find | What to check first |
|---|---|
| Latch-side gap is narrow at the top and wider at the bottom | Possible sag: inspect hinge screws, hinge wear and frame anchoring |
| Hinge leaf moves against the door or jamb | Loose screws or stripped fixing holes |
| Leaves stay fixed, but the hinge knuckles have excessive play | Worn hinges |
| Door springs back before closing, or rubs along its hinge edge | Hinge bind or frame alignment, rather than simply a low latch |
| Door drags on the floor but perimeter gaps look consistent | Check the floor, threshold, sweep and obstructions before assuming sag |
The Steel Door Institute’s troubleshooting guide identifies the tapered latch-side gap as a sag condition and distinguishes loose hinges, worn knuckles and hinge bind. JELD-WEN’s product guide also lists obstructions, damaged weatherstripping and a bowed frame among closing problems.
2. Tighten the hinge screws by hand
You need a screwdriver with the correct bit, a wedge or door support, and a ruler. A drill and repair materials are needed only if you find failed fixings.
- Open the door and place a support beneath its free edge to relieve the load without forcing it upward.
- Start at the top hinge. Tighten every screw in both leaves: one leaf attaches to the door, the other to the jamb.
- Repeat at the remaining hinges. Make the screws snug; do not keep turning once they are seated.
- Remove the support and close the door slowly. Compare the reveals and rubbing point with your notes.
Use a hand screwdriver for this first pass: a powered driver makes it easier to strip the holes or damage screw heads. Family Handyman recommends tightening both door-side and jamb-side screws this way.
If a screw spins, stop. More tightening will not restore its grip.
3. Repair failed fixings in wood
For a stripped hole in sound wood, JELD-WEN’s product guide describes filling the hole with wood glue and fitted wooden toothpicks or a dowel, allowing it to dry, finishing the surface with wood putty, then drilling a new pilot hole.
Support the door before loosening the hinge and work on one hinge at a time. Remove the failed screw, repair the hole, and let the glue and putty dry according to their labels. Restore the surface so the leaf seats flat, then drill a pilot hole appropriate to the replacement screw and reinstall it. Retest the door before making another adjustment. If the door must come off, get a helper: JELD-WEN warns that slab removal can be awkward and cause injury or product damage.
This is a wood-only repair. Do not use it for stripped machine-screw threads in a steel frame, rotten timber or a broken-out hinge edge. Those need the appropriate thread, reinforcement or material repair—not a larger screw driven into the damage.
When a longer screw can help
On a suitable wood jamb, a longer screw through the top hinge can reach the framing behind it and draw the hinge area back. Mr. Handyman describes this top-hinge repair using a 3-inch (76 mm) screw. Family Handyman’s illustrated method selects a jamb-side screw near the middle of the hinge, closest to the doorstop, and calls for gradual tightening with repeated fit checks. Stop if trim joints begin opening.
That length is not universal. Confirm the jamb construction, intended screw path and manufacturer instructions first—especially around sidelights or glass. Match the screw head to the hinge countersink so it seats flush, and do not use extra tightening to drag an unsupported jamb out of shape.
4. If secure screws do not cure the sag
Replace worn hinges. Tight fixings cannot remove excessive wear in the knuckles; the Steel Door Institute recommends replacement. Before ordering, measure the existing hinges and match the mounting preparation, leaf thickness, screw pattern and suitable load capacity—not just the finish.
Use shims only for a diagnosed alignment problem. Shimming every hinge equally is not a universal sag repair. For standard steel doors, SDI describes adding shims behind the bottom and/or middle door-side hinge leaf to shift the lower portion upward and toward the strike jamb. The location and thickness depend on the clearance problem and assembly. SDI’s sag guidance explains the distinction; do not assume its steel-door procedure applies to every residential door.
Use purpose-made, manufacturer-suitable shims. Do not use cardboard on an exterior or fire-rated opening; SDI’s shim guide recommends galvanized steel and calls for slow closure and clearance checks after each adjustment. Avoid improvising hinge bending or frame alterations when the cause is uncertain.
Check the whole opening before finishing
Remove all supports and test several full opening-and-closing cycles. The door should clear the frame and floor, latch without lifting or pushing it into position, and allow the deadbolt to engage without force. If a closer or spring hinge is fitted, verify that the door still closes and latches under its own closing hardware.
Only reconsider the strike position after the door hangs correctly. If the fixings are secure but the frame is bowed, twisted or substantially out of square, have the installation assessed rather than shaving the slab to disguise it. SDI notes that significant frame misalignment can require extensive repair. Cutting a door should wait until its alignment and the manufacturer’s trimming limits are established.