
Identify the offset hinge before you order
Distinguish swing-clear, wide-throw and offset-pivot hinges, then measure the opening, door and existing preparation before ordering.
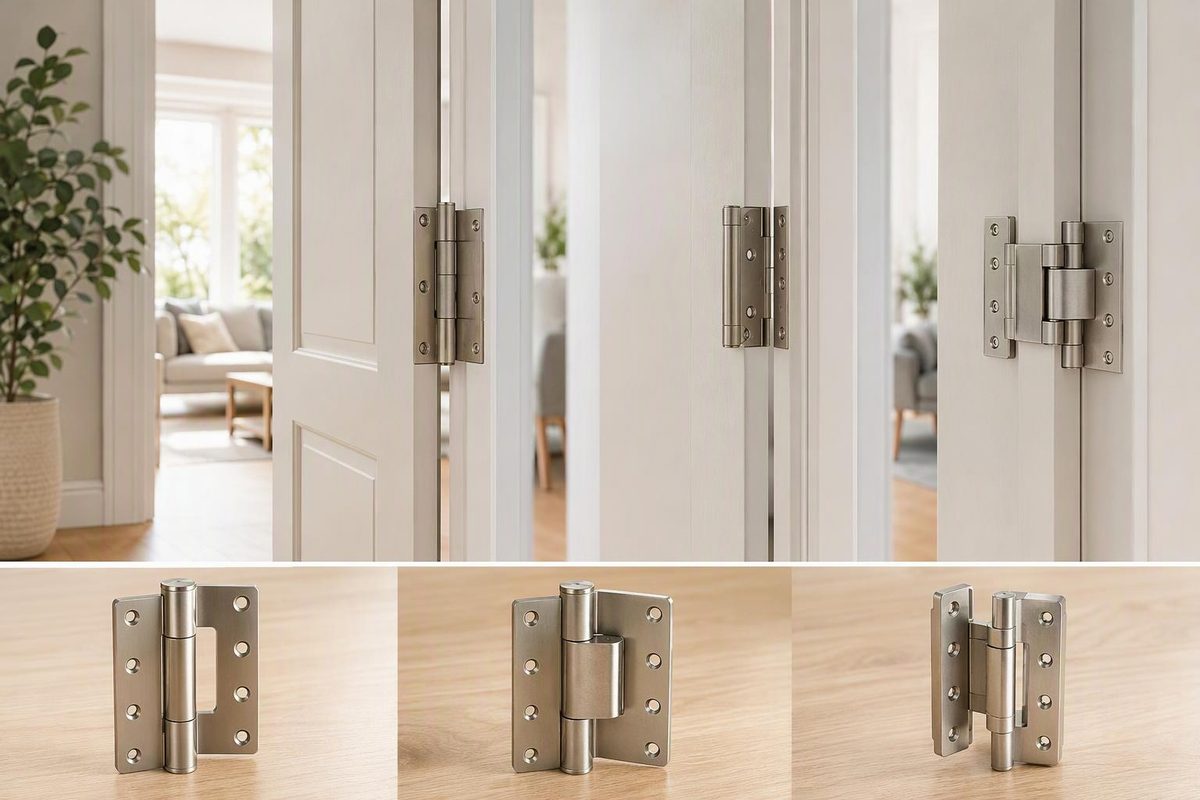
“Offset door hinge” can describe three different products. Choose by the problem to solve, not by the wording in a listing:
| If you need to… | Look for… | What it changes |
|---|---|---|
| Move the open door out of the passage | Swing-clear hinge | Relocates the barrel and door edge away from the clear opening |
| Open a recessed door around thick trim or a deep reveal | Wide-throw hinge | Uses wider leaves to move the pivot axis farther from the frame |
| Hang a heavy or architectural door on pivots | Offset-pivot set | Supports the door on a pivot axis near, but not at, the heel edge |
These products are not interchangeable. A wide-throw hinge does not necessarily increase the passage width at 90°, and a 3/4-inch offset pivot is not the residential swing-clear hinge sometimes advertised as a “2-inch offset hinge.”
Swing-clear hinges increase usable passage
A swing-clear hinge has formed leaves that move the open door and hinge barrel out of the doorway. Use this family when the door itself occupies too much of the passage at 90°. McKinney describes its swing-clear hinges as moving the barrel and door edge out of the opening; its range includes different mounting arrangements and duty levels (McKinney swing-clear hinges).
Measure the actual result rather than treating the advertised offset as the width gained. Open the door to 90° and measure horizontally from the face of the door to the opposite stop.
Where the U.S. ADA Standards apply, a manual swinging doorway generally must provide at least 32 inches (815 mm) of clear width measured between the door face and stop with the door open 90°. An opening more than 24 inches (610 mm) deep must provide at least 36 inches (915 mm) (2010 ADA Standards §404.2.3). A swing-clear hinge may recover width occupied by the door, but it does not enlarge the frame opening or establish accessibility by itself. Maneuvering clearance, thresholds, operating hardware, opening force and other requirements can also apply.
“Swing clear” alone does not establish fit. One McKinney full-mortise model, for example, comes in 4-1/2-inch (114.3 mm) and 5-inch (127 mm) heights, with specific gauges, hole counts and fasteners (TA2395/TA2895 specifications). Match the exact template and capacity, not just the product family.
Wide-throw hinges clear trim and deep reveals
A wide-throw hinge resembles a conventional butt hinge opened flat, but its overall width is greater. The wider leaves move the pivot axis outward so a recessed door can swing around projecting casing, wall finishes or a deep frame reveal.
Choose this type when the door or hinge edge interferes with trim before reaching the required angle. McKinney’s heavy-duty wide-throw range is intended to prevent binding at large reveals and includes sizes from 4-1/2 × 5 inches (114.3 × 127 mm) through 5 × 8 inches (127 × 203.2 mm) (McKinney wide-throw specifications).
Do not select the open width from the reveal measurement alone. The required geometry also depends on door thickness, hinge-side bevel, frame profile, trim projection and desired opening angle. Use the dimensioned template for the exact model.
Offset pivots are a separate hanging system
An offset-pivot door is carried by top and bottom pivot hardware, often with one or more intermediate pivots. It is not a drop-in butt-hinge replacement: the door, frame and sometimes floor require matching preparation, and all pivot centerlines must align.
In common architectural terminology, a 3/4-inch offset pivot places the pivot point 3/4 inch from the heel edge and 3/4 inch from the door face. A 1-1/2-inch offset remains 3/4 inch from the heel edge but moves the pivot point 1-1/2 inches from the face, which can provide clearance for door cladding or frame trim (Rixson pivots and pivot sets catalog).
Treat a worn pivot as a system to identify, not as one loose hinge to replace. Record the top, intermediate and bottom components, any floor closer, the handing, offset, door thickness and every visible model number.
Measurements to record before ordering
For a swing-clear or wide-throw replacement, support the door before loosening or removing hardware. Record the hinge’s installed orientation and which leaf attaches to the door.
- Mounting type: full mortise, half mortise, full surface or half surface.
- Hinge height: measured parallel to the pin.
- Open width: total width across both leaves with the hinge opened flat. For hinges stated with two dimensions, the first is height and the second is open width (McKinney hinge measurement guide).
- Leaf thickness, knuckle count and pin diameter.
- Corner preparation: square or rounded; measure the radius rather than judging it by sight.
- Screw pattern: count the holes and measure their center-to-center positions.
- Door data: width, height, thickness, material, weight or documented model, hinge-side bevel and number of hinges.
- Opening geometry: frame rabbet, reveal depth, trim projection, current opening angle and required angle.
- Clear width: door face to opposite stop with the door held at 90°.
- Handing and swing: record the viewing side used, plus whether the door swings in or out.
For the basic method, see how to measure a door hinge. Keep slab width separate from clear opening; standard door width explains why they are not equivalent.
Check the complete opening
Match the manufacturer’s limits for door dimensions, weight and use frequency before choosing a finish. Also check bearing type, fasteners, closer operation, electrified conductors, security studs and non-removable pins. Verify that levers, pulls, walls and casing remain clear through the full swing.
Do not improvise a substitution on a labeled fire door, an egress opening or an electrified assembly. UL states that fire-door hardware must be installed in accordance with applicable NFPA standards and the manufacturer’s instructions (UL door and hardware application guide). Follow the current instructions for the complete door assembly and any requirements accepted by the local authority having jurisdiction.