
Spring-Loaded Hinges: Measure Before You Replace or Adjust
Match spring-loaded hinges by size, screw pattern and door capacity, then adjust tension safely and check fire-door or accessibility requirements.
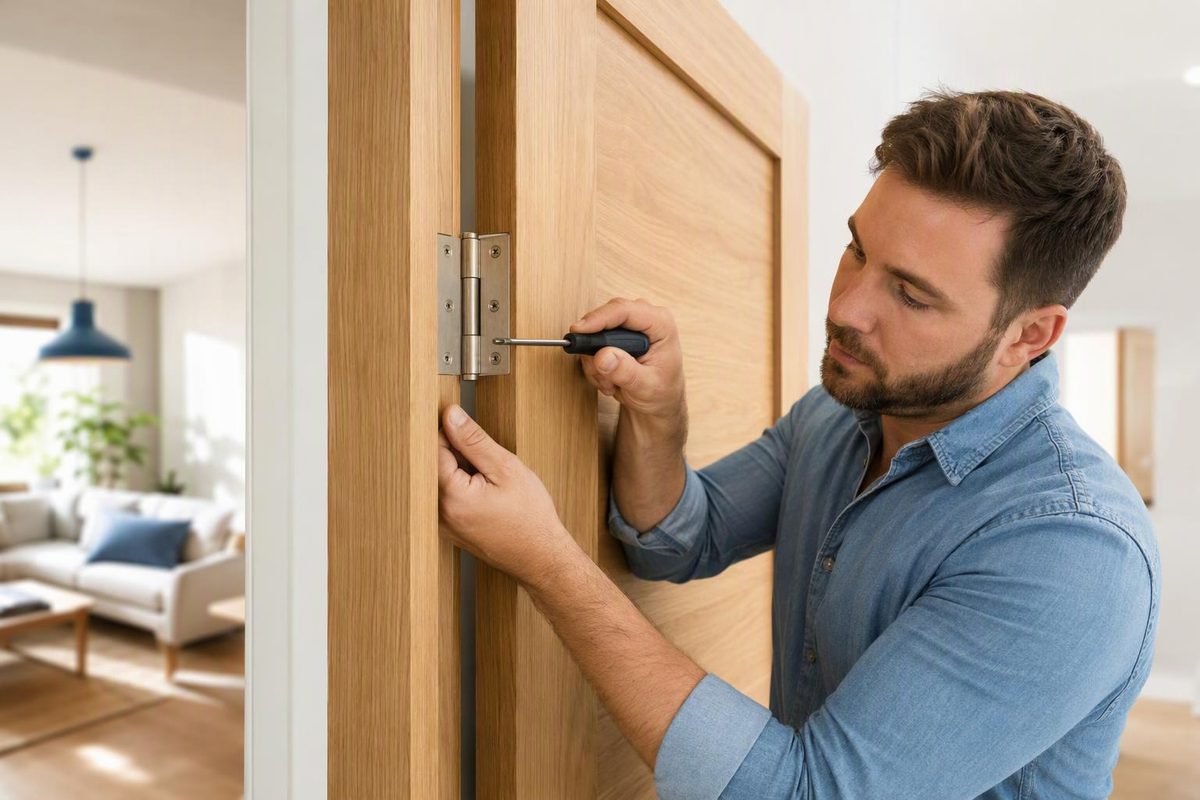
A spring-loaded door hinge is a self-closing hinge: a spring inside the barrel pulls the door shut after opening. Before ordering, match the hinge type, open size, leaf thickness, corners, screw pattern and door capacity. Choose the finish only after those details agree.
Do not assume one spring hinge will close every door. The required quantity and placement are model-specific, and extra tension will not correct a sagging, binding or misaligned door.
What to record before buying
| Check | What to record | Why it matters |
|---|---|---|
| Hinge type | Full-mortise, surface-mounted or another configuration | The leaves must suit the existing door and frame preparation |
| Open size | Height parallel to the pin, then total width across both leaves | 4 in. × 4 in. means height × open width |
| Leaf thickness | Measure with calipers where possible | A thicker leaf may bind; a thinner leaf may sit loose in the mortise |
| Corners | Square, 1/4 in. radius, 5/8 in. radius or another shape | The leaf must sit flat in the existing recess |
| Hole pattern | Photograph it and measure between hole centers | Equal outside dimensions do not guarantee matching screw holes |
| Door size and weight | Width, height, thickness and loaded weight | Capacity depends on the complete door, including attached hardware |
| Door and frame material | Wood, hollow metal or another construction | This affects fastener choice and the need for reinforcement |
| Swing | Opening direction and maximum angle | Orientation and allowable tension can depend on the installation |
For the basic measuring method, see How to Measure Door Hinges for a Drop-In Replacement.
Sizes are not interchangeable. Hager’s selection chart, for example, pairs a 4-1/2 in. hinge height with doors up to 36 in. wide and 1-3/4 in. thick, while its residential 1754 is specifically 4 in. × 4 in. with one square leaf and one 5/8 in. radius leaf (Hager commercial hinge guide; Hager 1754 specifications). These are product examples, not universal sizing rules.
How many spring hinges are needed?
There is no brand-independent answer such as “one per door.” Door dimensions, loaded weight, use, wind, seals and floor drag can all affect the required configuration.
For Hager’s 1150/1250 series, the manufacturer gives these combinations:
| Hinge size | Maximum door weight | Specified configuration |
|---|---|---|
| 3-1/2 in. × 3-1/2 in. or 4 in. × 4 in. | 60 lb | 2 bearing hinges + 1 spring hinge |
| Same sizes | 85 lb | 1 bearing hinge + 2 spring hinges |
| Same sizes | 110 lb | 3 spring hinges |
| 4-1/2 in. × 4 in. or 4-1/2 in. × 4-1/2 in. | 70 lb | 2 bearing hinges + 1 spring hinge |
| Same sizes | 115 lb | 1 bearing hinge + 2 spring hinges |
| Same sizes | 150 lb | 3 spring hinges |
Those figures apply only to the named Hager series. Its instructions put a bearing hinge at the top and spring hinges at the center and bottom when two spring hinges are used (Hager installation instructions). Hager also permits its 1150 to be combined with ball-bearing or anti-friction hinges but says not to use plain-bearing hinges with that model (Hager 1150 specifications). Follow the instructions for the exact hinge rather than transferring this table to another product.
Adjust tension only after checking alignment
First tighten loose fasteners and inspect the gaps around the door. With spring tension released as the manufacturer directs, move the door through its swing and push it closed. It should reach the latch without scraping or climbing the frame. Hager instructs installers to correct resistance, imbalance or misalignment before applying tension (Hager installation instructions).
A typical pin-adjusted hinge is set as follows, but its supplied instructions control:
- Close and support the door. Wear eye protection; the hinge stores spring energy.
- Insert the specified hex key or tension rod into the adjustment end.
- Turn only in the direction specified for that hinge and orientation.
- Insert the locking pin in the newly exposed hole.
- Ease the adjuster back until the pin bears against the hole, then remove the tool.
- Test the door. Increase tension one position at a time until it closes and latches.
- With multiple spring hinges, distribute the adjustment instead of loading one hinge excessively.
Therma-Tru advises using the minimum tension required to close and latch, because excessive tension shortens spring life. Its turning direction also changes according to whether the adjustment end faces up or down (Therma-Tru adjustment guide). Hager sets different maximum adjustments for doors opening 90° and 180°, illustrating why the product instructions matter.
If the door still will not latch at reasonable tension, check for hinge bind, sag, strike misalignment, compressed seals or floor contact. A conventional torsion-spring hinge adjusts closing force; it does not offer the independent sweep and latch-speed controls commonly found on a hydraulic closer.
When a spring hinge may be the wrong closer
- Heavy, tall or frequently used door: A listed hydraulic closer or controlled-closing hinge may provide more suitable capacity and speed control. Although Hager lists its 1150 for certain doors up to 8 ft high, it recommends hydraulic closers above 7 ft (Hager 1150 specifications).
- Door that must remain open: Do not wedge open a door required to self-close. Determine whether a listed hold-open arrangement is allowed for that opening.
- Double-acting door: Use hardware designed to swing and return from both directions; a single-acting spring butt hinge is not interchangeable.
- Exterior or corrosive location: Verify the base material and environmental rating. A matching finish alone does not establish corrosion resistance.
- Accessible route: Check the accessibility standard that applies to the project. Under the federal ABA Accessibility Standards, a spring-hinged door must take at least 1.5 seconds to move from 70° open to closed. Interior hinged non-fire doors covered by the same section have a maximum opening force of 5 lbf (22.2 N) (U.S. Access Board, ABA Chapter 4).
Fire doors and garage-entry doors require an assembly check
A fire listing on the hinge does not by itself approve a retrofit. Confirm the hinge listing, quantity, fasteners, door dimensions and weight against the instructions and the documentation for the complete opening. ANSI/BHMA A156.17 addresses cycle, operational, material and dimensional tests for self-closing hinges; its F function suffix identifies hardware for fire doors that must be listed by a recognized independent laboratory (BHMA A156.17 overview).
Do not casually drill or fill a labeled door or frame to accommodate a near match. NFPA 80 permits specified repairs for unused fastener holes, while other holes may have to be treated as field modifications and reviewed under the applicable procedure (Steel Door Institute).
Garage-entry requirements also depend on the locally adopted code. As a current model-code example, 2024 IRC §R302.5.1 requires qualifying doors between a private garage and dwelling unit to be self-latching and equipped with a self-closing or automatic-closing device; it separately identifies eligible door constructions (International Code Council). Local editions and amendments may differ.
After installation, test the actual opening repeatedly from both a small and a wide opening. The door should close and latch without slamming, scraping or needing a push.